 Popcorn Ceiling – Photo by Valerie Zinger
While you could easily hire a professional to remove your popcorn ceiling for you, you are going to save yourself a lot of money by choosing to take on the job yourself. Prices vary drastically depending on where you live and who you hire but the job has been known to cost as much as $2 per square foot. Honestly, the whole process sounds much more intimidating than it actually is and today we are going to teach you just how simple it is to remove your popcorn ceiling and get your ceiling looking the way you’ve always dreamt.
Check for Asbestos

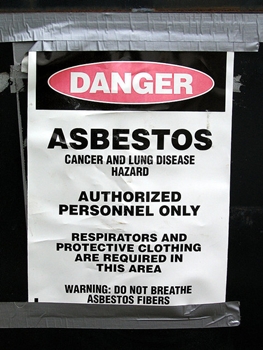
Many popcorn ceilings that were built before the 1980s contain Asbestos, which is extremely harmful to your health. While Asbestos is perfectly safe when it is sitting as part of your ceiling, untouched; the moment Asbestos is moved, it becomes airborne and can lead to Mesothelioma and Asbestosis. It is important that you test your ceiling before you begin the project on your own. Take a small sample and send it to an EPA Certified Testing Lab. If it comes back positive, you will need to contact a Certified Asbestos Contractor to do the job for you. They are specially trained in how to remove Asbestos without causing harm to you or your family.
Prepare the Room

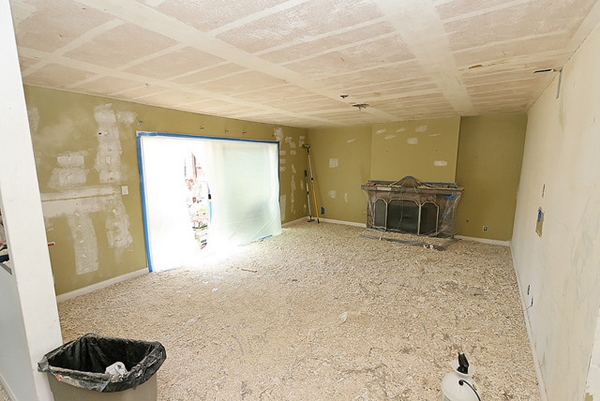
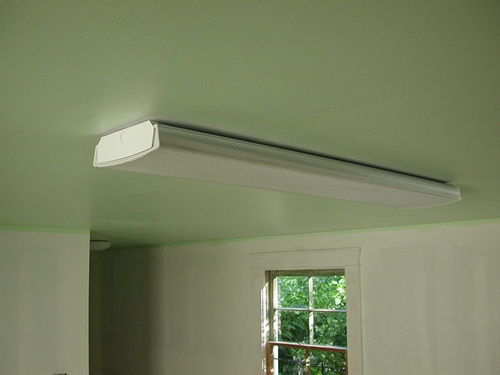
Most people would argue that the toughest step in removing a popcorn ceiling is the preparation. The best thing to do is remove everything from the room starting with light fixtures or fans from the ceiling. Next, you want to cover the walls and floor with plastic sheeting, putting special focus on wall outlets to ensure they do not get damaged. Taping an extra piece of plastic around them is a good idea, in case any excess water finds its way through the plastic somehow. Before you begin, you must turn off electricity to the room because you are going to be working with quite a bit of water. From there, you are going to want to completely cover your floor with contractor paper so that it can pick up any excess water and help make your cleanup that much easier.
Apply Water to Your Ceiling

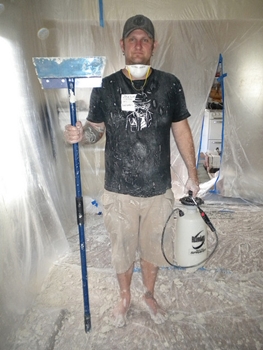
Using a pump sprayer, begin applying water to your popcorn ceiling. It’s best to work in areas of about 5 foot by 5 foot. It is going to take quite a bit of water in order to get the ball rolling, but you do not want to apply too much because you could potentially damage the surface below. Let that sit for about 30 minutes so it can soak into your ceiling, then using a wall scraper or putty knife, begin chipping away. If the right amount of water has been applied, the ceiling should begin coming down without a hitch. It will be like butter. We advise wearing a mask as you scrape, because a lot of the ceiling pieces are going to be falling onto you.
If you come across areas that are tough to remove, simply apply a bit more water and let it soak in. It really shouldn’t take much effort to get the material to break free. Some piece of the material may actually begin to fall on their own periodically.
Fill in Holes, Gaps and Imperfections
Now is the fun part. You get to walk through the room and fix any imperfections in the ceiling you may find with joint compound. A very thin layer is typically all you will need. Pay close attention to wall joints or places where nails are present. Take your time to give the entire ceiling a thorough once over, because this is going to set the tone for your future ceiling. Once you feel comfortable with the look of your ceiling, you can go over the entire area again with a pole sander to get rid of excess joint compound. You may need to complete these steps a few times before you get the look you are going for.

Time to Paint and Clean Up
Once everything looks flat and even, it’s time to focus on painting. Start off by using some primer and then the color paint of your liking. From there, clean up is extremely simple. All you need to do is remove all the plastic and paper from your walls and floor, which can be rolled up neatly and tossed in the trash. Not as bad as you thought it would be, is it?
A former home improvement specialist, Barry Leon is the author of several home renovation articles, including this one. She personally recommends building custom kitchens rather than installing ready made ones.
Valerie Zinger says
Thank you so much for using my photo of a popcorn ceiling. I like your description of how to remove the stippling. It is a lot of work.
Sandy says
You’re welcome Valerie! Thanks again for the use of your image.