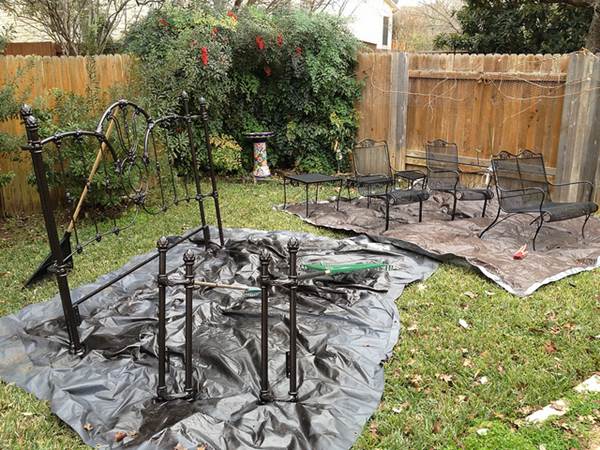
 Spray Painting – Photo Courtesy: Michael Cote
Are you itching to replace your boring, old furniture with something new and trendy? Emotional value, budget constraints, peculiar preferences – there are several reasons that may be keeping you from taking that step.
Did you know that you could take that rickety old chair and transform it into an eye-catching décor item? And it is not all that expensive or difficult either. Here’s how you can use spray paint to refurbish old furniture and make it look as good as new.
Decide Upon The Look
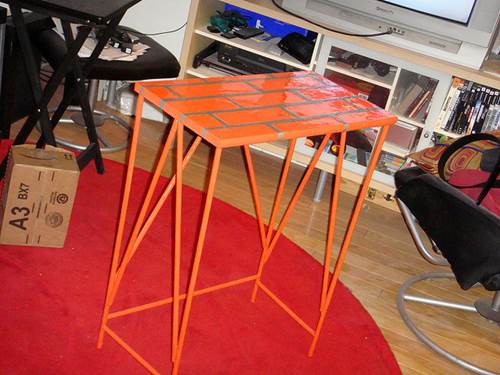
Do you want to repaint the furniture in the same color or change it’s look altogether? Matte or glossy? Visualize how you want the piece of furniture to end up looking. Depending upon where you will place it, think through if it will fit in with the rest of the décor and choose a color accordingly. If you are looking for practicality and ease of maintenance, you might want to use glossy paint as it is easier to clean.
Get Your Stuff Together
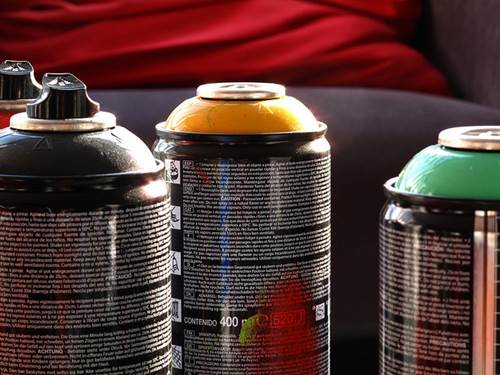
Before you even begin on your spray-paint job, make sure you have all the equipment and supplies ready. Don’t scrimp on quality and invest in products from reputed brands. Nothing ruins a well-progressing paint job more than the breaks and inconsistency caused by repeated trips to the store. A face mask, cans of paint, sandpaper, primer and sealer are the basic things that you will need. If required, you may buy a spray paint handle as it makes the painting job much more comfortable and quicker.
Prep And Prime
As any expert will tell you, the easiest way to botch up a spray paint job is to begin on an unclean and unsmooth surface. It helps to spend a little extra time on the scrubbing and sanding to get every bit of the old paint and varnish out. After you are done, wipe the surface clean to remove any particles or dust. Once you have a silky-smooth base, you are one step closer to a flawless paint job. Also, finish all the repair work on the furniture (if any) before you begin painting.
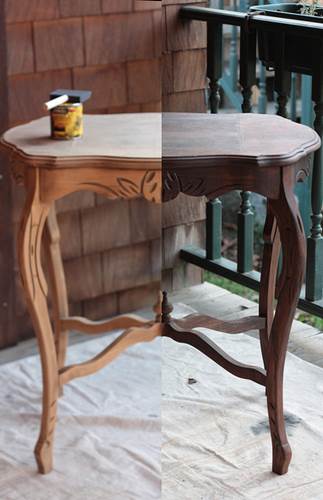 Above: Before and after pictures of a decorative table – Sean of Santa Rosa, California, USA sanded off the old finish and stained it to match an antique mirror in his entryway. Photo Courtesy: Sean Freese
After the sanding, you will need to apply a primer to make sure that the paint sticks to the surface. Depending on the quality of the surface, your furniture may need one or more layers of primer. However, make sure that the previous coat is completely dry before you move on to the next. If you happen to notice any irregularities in finish during the priming process, don’t be afraid to run sandpaper on them to smooth them out. After your primer dries up, it is time to begin painting.
Paint It Right
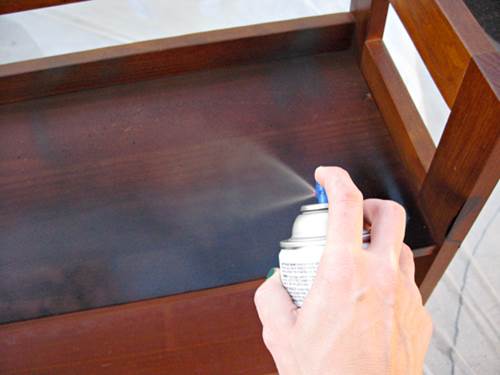
When it comes to spray painting, the weather and wind are just as important as your painting technique. Choose a pleasant day when it is not too windy as extreme temperatures can alter the consistency of the paint and affect your results. Wind, on the other hand can cause dirt to stick onto wet paint. Place your can at a distance of 4-6 inches from the surface and use long, sweeping strokes to paint, without stopping or slowing down.
Don’t attempt to cover it all at the first go – it is always better to apply multiple coats to achieve an even finish. Finishing off with a sealer is optional, but it is highly recommended for high-usage pieces or furniture that is going to be used outdoors.
Archie Torres is a part of the team at Spraymaster Spray Shop, a spray guns and accessories provider based in Perth. He loves home décor and enjoys sharing his unique ideas via blogging.
Leave a Reply